Last Sunday, I was having bad flu and a fever. It was so severe that I was unable to handle my household tasks. And on the next day, my husband had to give a job interview. So, he needed to be perfect.
As you know, perfection can never be achieved if you don’t consider looks. Your well-ironed clothes will portray your elegant personality and give you a classic look. It will best reflect your professionalism.
As I was ill, he had to iron his clothes himself. He asked me to guide him. And started ironing his suit. Although ironing the shirt was not a big task. But the suit pants were a bit difficult.
So, I hit upon an idea and it compelled me to write about it. I have prepared a complete guide that how you can iron your suit pants on your own in just minutes. For the first time, my husband took an hour to iron but after reading this blog post he did like a master.
Nothing is difficult you just need to know the right way and the helping hac feheks. In this blog post, you will find a super easy way to iron your suit pants in just 3 steps. So, let’s start.
Preparatory steps
Most people often feel hectic performing preparatory steps but they always prevent horrible results. So, to protect your pants from ruining, you should must go through them.
Washing your suit pants
First, you need to wash your suit pants if needed. You can wear your suit pants two to three times until it’s dirty or tanned.
Most probably, there is an instruction tag near the size tag. Please read these instructions before washing because some pant materials are washable and some are supposed to dry clean.
If you have washed your pant correctly then you will be able to iron them correctly.
Pro tip: Wash your pants thoroughly in abundant water. Because sometimes your pants are not rinsed properly and detergent remains on them leaving white stains and powder. This powder feels like dust in dark colors.
Using iron stand
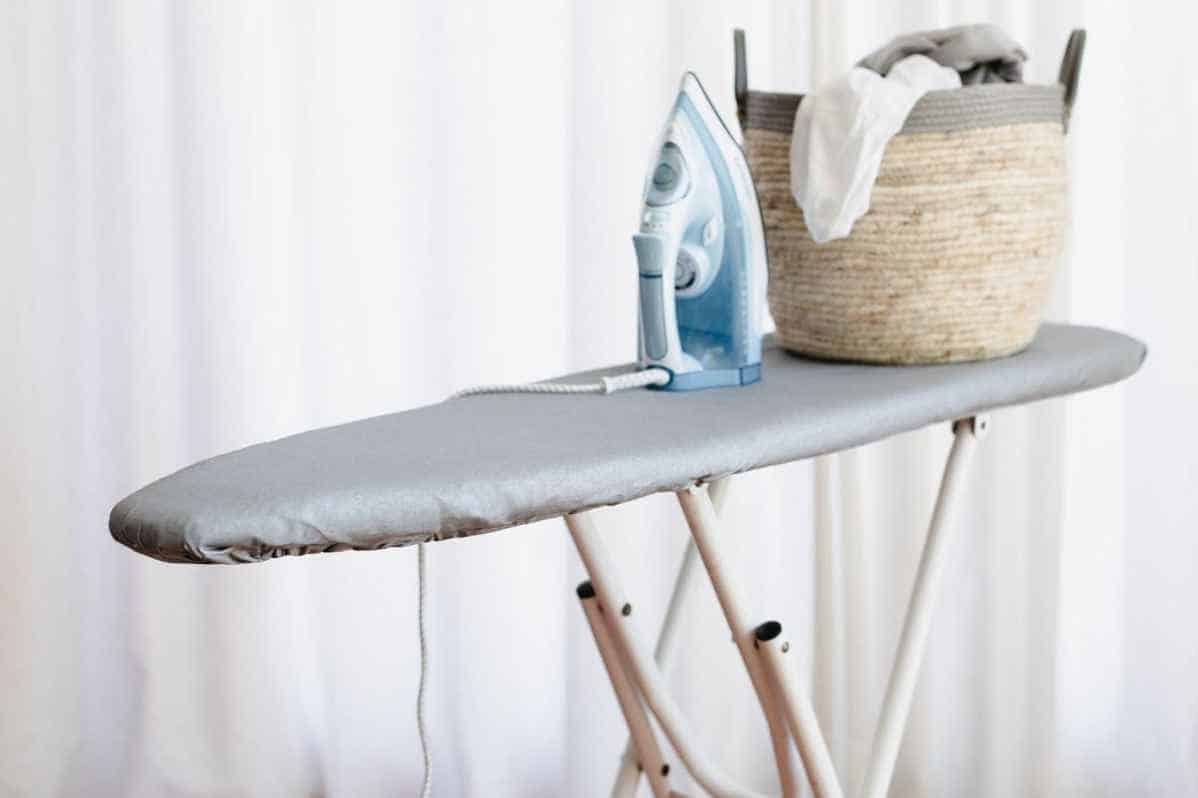
Use an iron stand to iron your pants. It will add some comfort to the ironing process. Some people also call it iron board. You can easily place your pants on them and iron them perfectly. Don’t forget to adjust the height and lock the legs before you start.
I am a little short-sighted. I adjusted my board according to my ease. My husband forgets to adjust the height. It made him uncomfortable.
Pro tip: Place an iron cloth or a tablecloth on the iron stand before ironing. I myself prefer to fold a bedsheet to the size of an iron stand and then iron on it. It helps you to iron smoothly.
Place your iron stand near to the switchboard. In this way, you can easily move your iron where ever you want without stretching the wire.
Setting the iron temperature
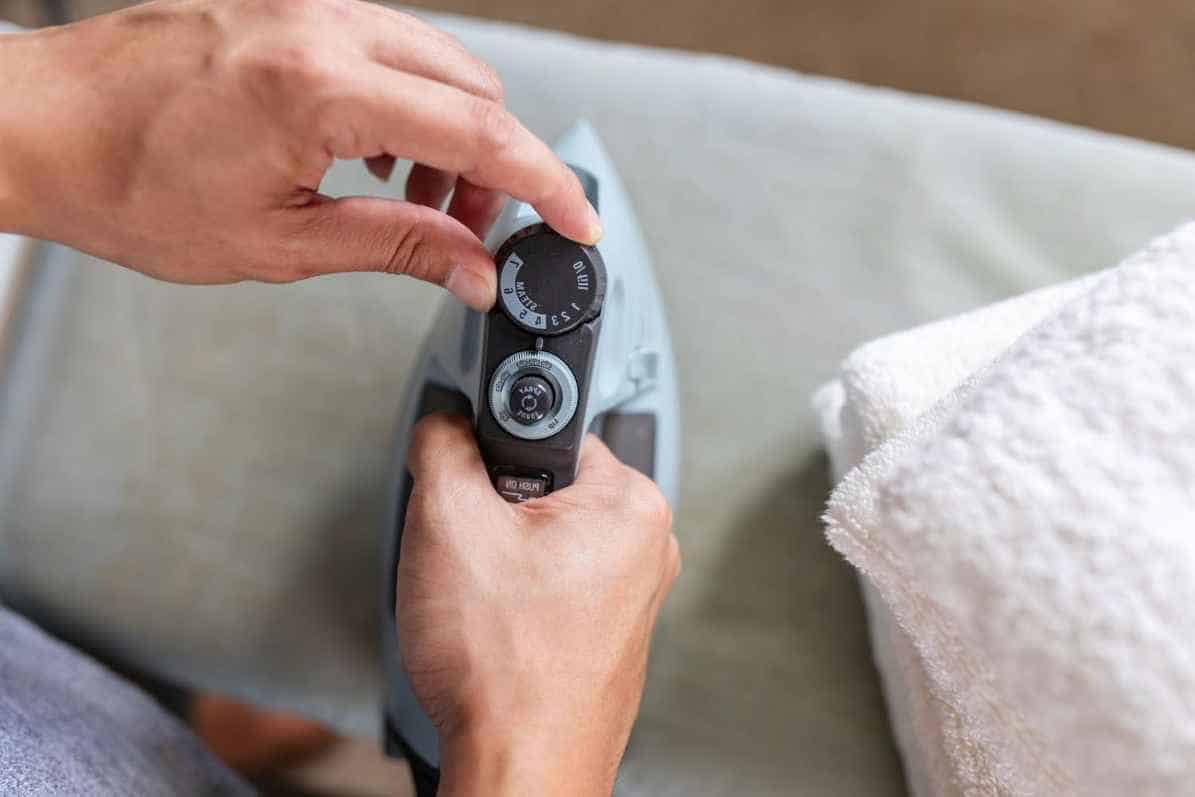
Setting your iron to the desired temperature is the most important preparatory step. Just like the unique texture, every cloth has its own iron temperature. Like wool is ironed at low and kinds of cotton at high.
If you are confused about the best iron temperature for your pant cloth, consult the instructions on the garment tag. It is normally near to size tag. You will find your best answer.
Pro tip: Don’t iron clothes at too high a temperature. It creates shiny burns on the cloth. If mistakenly you have made these shine. Don’t worry. Use a white cloth soaked in vinegar water to remove these shines.
Filling the water compartment
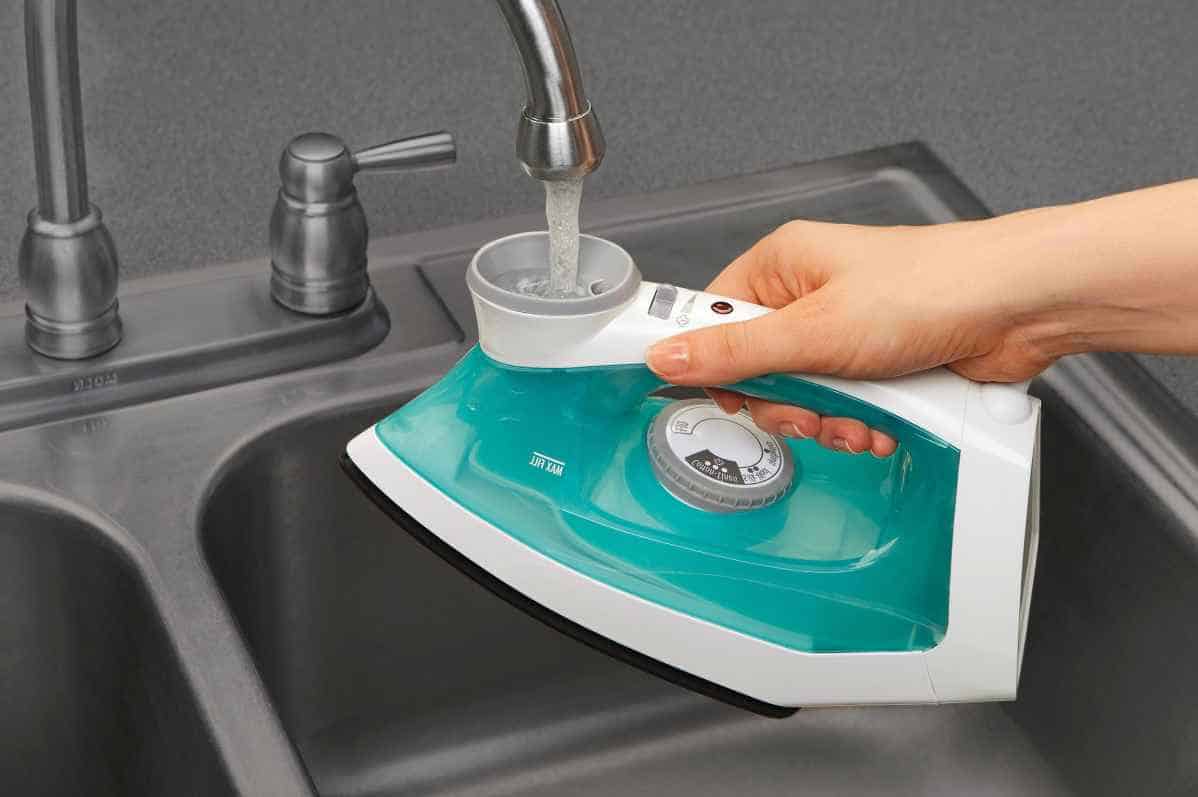
Most modern irons have water compartments on the top of the front side. Spraying water on the deep creases and wrinkles helps to remove them. By steam, you will get flawless straight-suit pants.
While ironing some clothes, spraying water is a necessity like cotton. The steam is needed to remove wrinkles.
Be sure to check the instructions on the garment tags. Because some clothes don’t allow steam while ironing like wool pants.
If you don’t have a water compartment in your iron, don’t worry. You can use a spray bottle instead.
People also add some drops of their favorite fragrance in the water compartment. In this way, the fragrance will be thoroughly scattered throughout the entire cloth.
Pro tip: Clean your iron with a cloth before ironing. Because on light-colored pants like khakis, dirty iron can create a mess. Using a wet cloth can give an extra cleanse.
Be careful before cleaning that iron must be cooled.
Ironing the pants
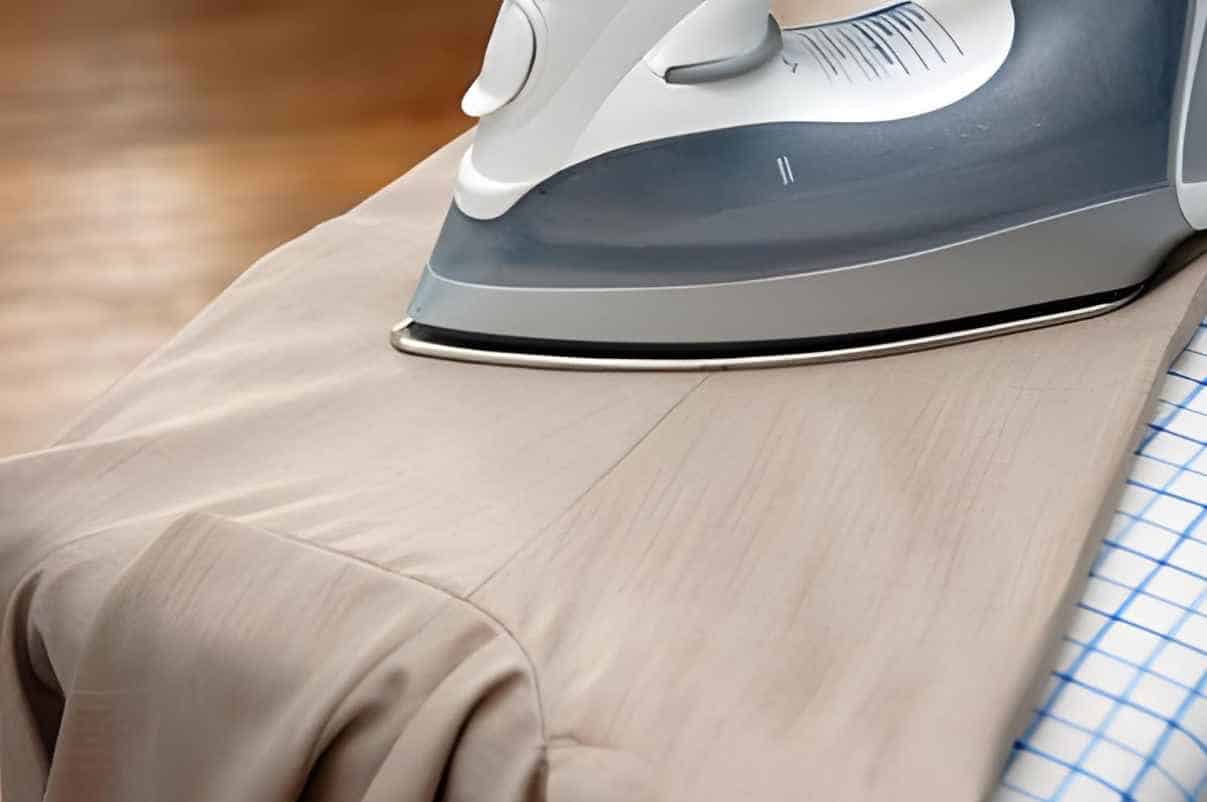
Before starting, leave the iron on for 30 to 60 seconds. A preheated iron will do its job perfectly. But remember a preheated iron, not an overheated one. Some people rub or slide iron on the pants. In this way, they are irregularly stretched. Others iron by moving it in circles but it is not so right.
You should iron in a press and lift way. One press on the crease on the wrinkle and lift without rubbing or sliding. One important thing is where to start. Start ironing from top to bottom. I have specially added this order. Because my husband started to iron from the bottom and the results were not satisfactory.
Start from pockets
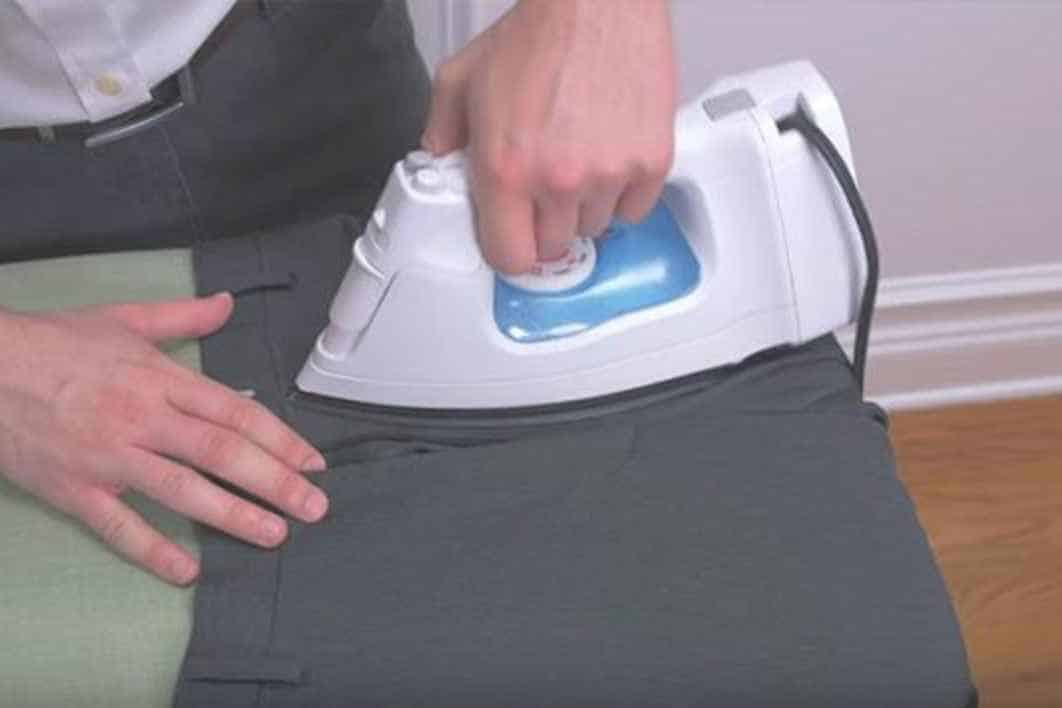
You will might think that these places are not displayed. Yes, it’s right but ignoring them in the iron process will leave some creases in the areas surrounding the pockets. First, turn out the pockets. Place them on the iron board. And then iron. Don’t immediately turn the pockets to the inside. Leave this step for later. Be sure to iron the back pockets too.
Pro tip: Be careful while ironing the clothes. A heated iron can burn or hurt your hand.
Iron the waistband
After ironing the pockets iron the waistband. Put your pant flat on the table and press them with an iron. Then iron thoroughly from back and front.
Remember the natural creases. Don’t try to flat them. If your suit pant is plated then you need to focus much.
Once you are done with the waist. Now you can turn the pockets towards the inside.
Iron the legs portion
Now we are moving to the most important part to iron. Creases or wrinkles on any other part of the pants are bearable. But at the legs are just the worst.
Imagine you are standing in front of business colleagues giving a presentation. You have perfectly prepared your presentation. But because of your improperly ironed pants, you lose all your confidence. They give your pants a cheap ugly appearance.
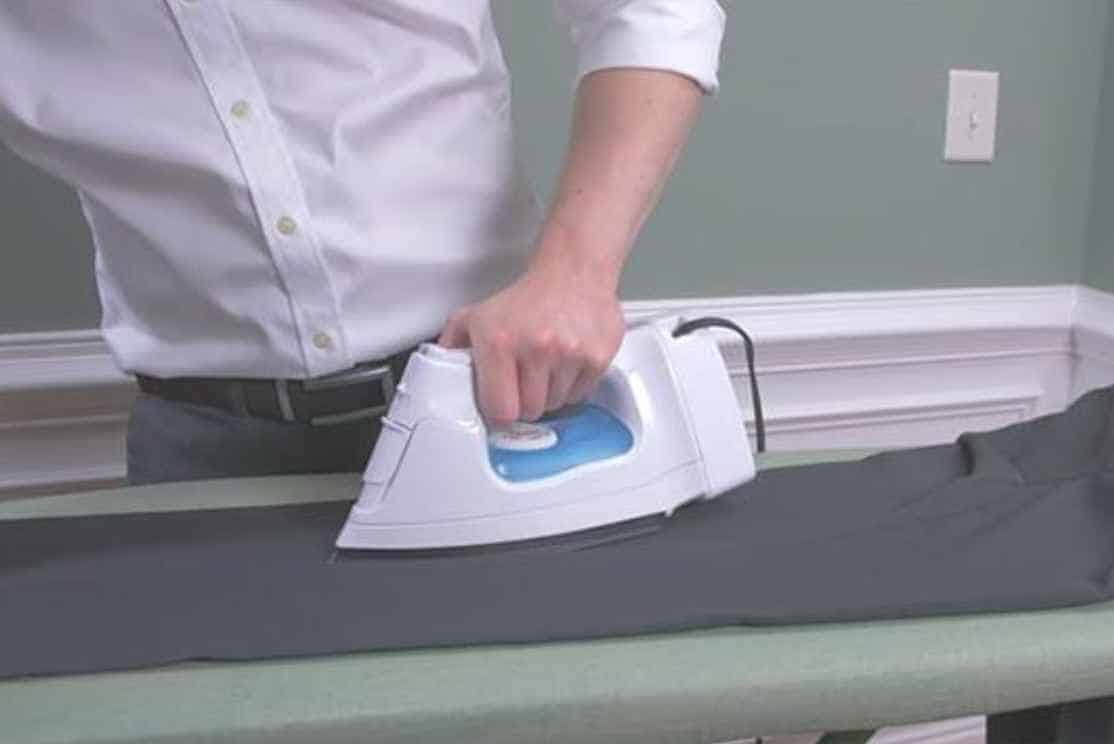
Place your pants on the iron table lengthwise to iron the legs. While ironing the shirt you can iron a single layer of clothing. But it is not possible in pants. You have to put both legs side by side in the same direction.
Be sure to turn the sides and iron both from left and right.
Iron the standing fold
A standard suit pant has a vertical standing fold along the length. Iron along this fold to give your suit pant a perfect shape.
Ironing along this region will give your legs an aesthetic model touch.
Final touch-up
Iron the remaining area if any. Give the final touch-up on desired areas.
Hanging the suit pant
You have completed the iron process. Now, you just need to hang your suit pants.
If you are hanging or putting your perfectly ironed suit pants improperly. It is not less than clicking the undo button. You are wasting your all hard work. Here is the right method for you.
Let it cool
Let your suit pant cool to room temperature. Leave it for five to ten minutes on the iron table as a safety measure.
Touching the hot pant will hurt your hands. Moreover, hanging the hot suit pants will create creases and wrinkles in folding areas:
The Hanging process
After cooling, hang your pants by securing the waistband with the clips if you have a pant hanger. But if not, you can use a shirt hanger.
Just put your hanger on the pants. Fold them keeping half on one side and half on another side.
You can also fold your pants if you don’t want to hang them. It can save space. And you can easily store it in your drawer.
And that’s it you are done.
Summary
I hope after reading this blog post your all problems will be clear. You will never skip ironing your suit pants. Imagine you have chosen a perfect shirt with a stylish pair of shoes. Your aesthetic looks are going to rock. Will you allow your badly ironed suit pants to ruin it?
So don’t be shy or feel lazy. Try this super method and tips today. Please follow the order of steps for the best results. You just need some prep and with these steps you will be done. Moreover, also read the pro tips to tackle the small problems while ironing. Save or pin this post for later. In this way, you will not forget or miss the important steps or information.

Jessica Oliver is a fashion enthusiast with more than ten years of experience in the industry. She previously managed her own clothing store in New York before becoming a mother of three. With a passion for sustainability and a desire to share clothing care and recycling tips.

