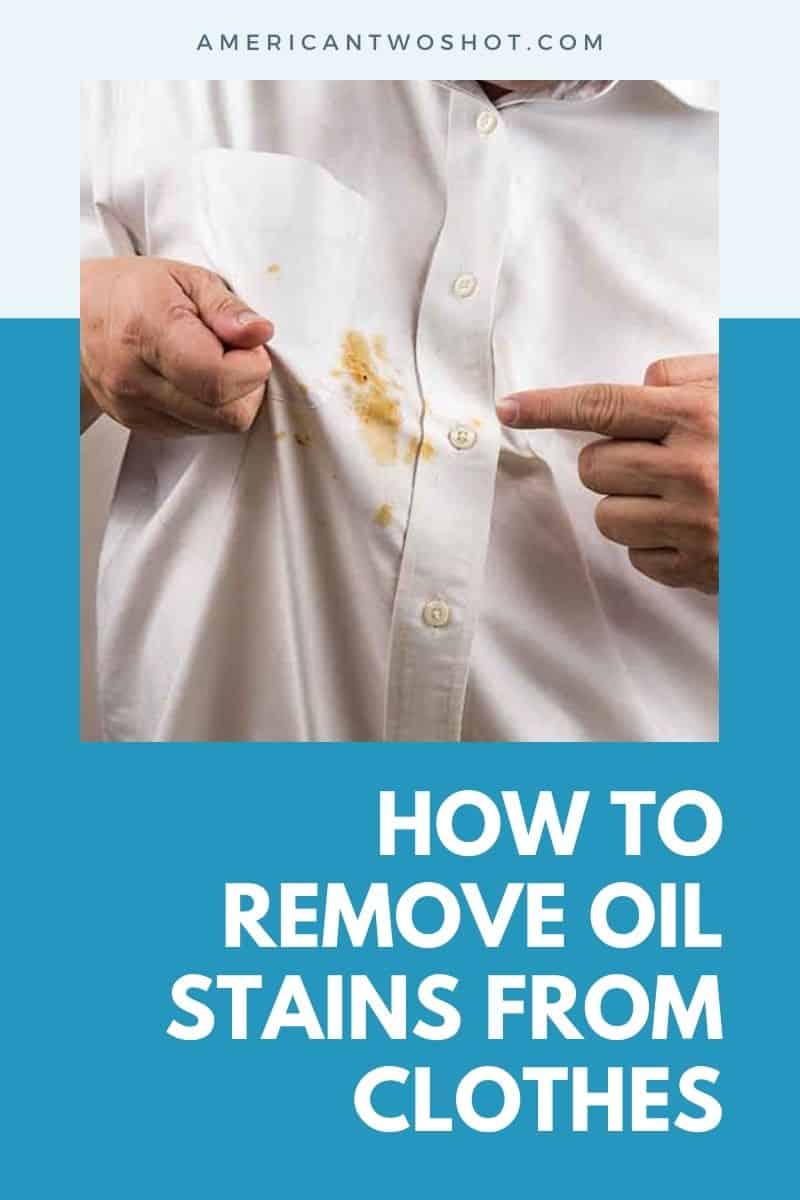
How to get oil out of clothes?
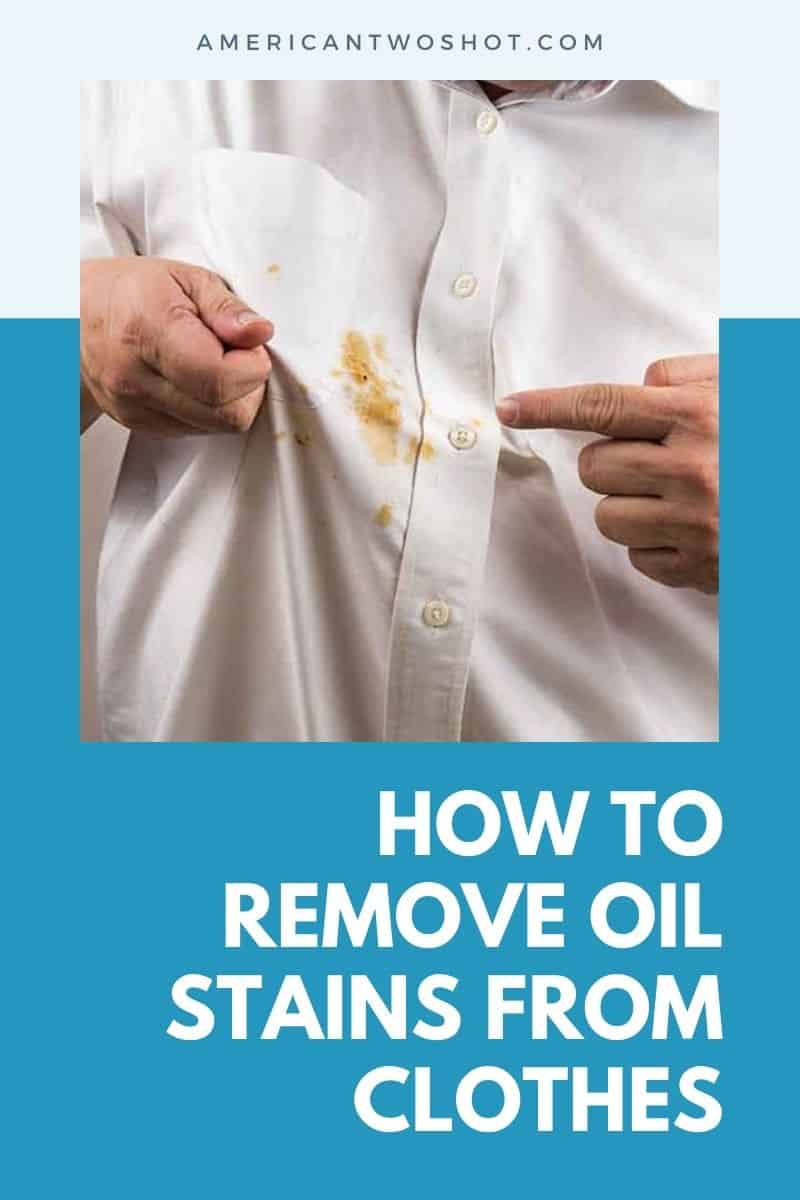
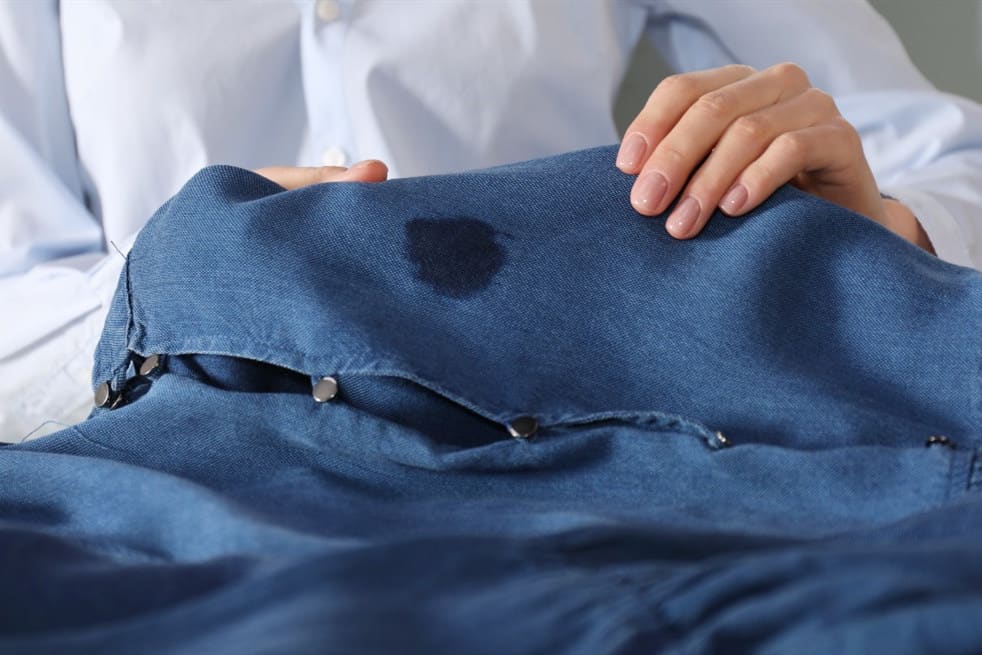
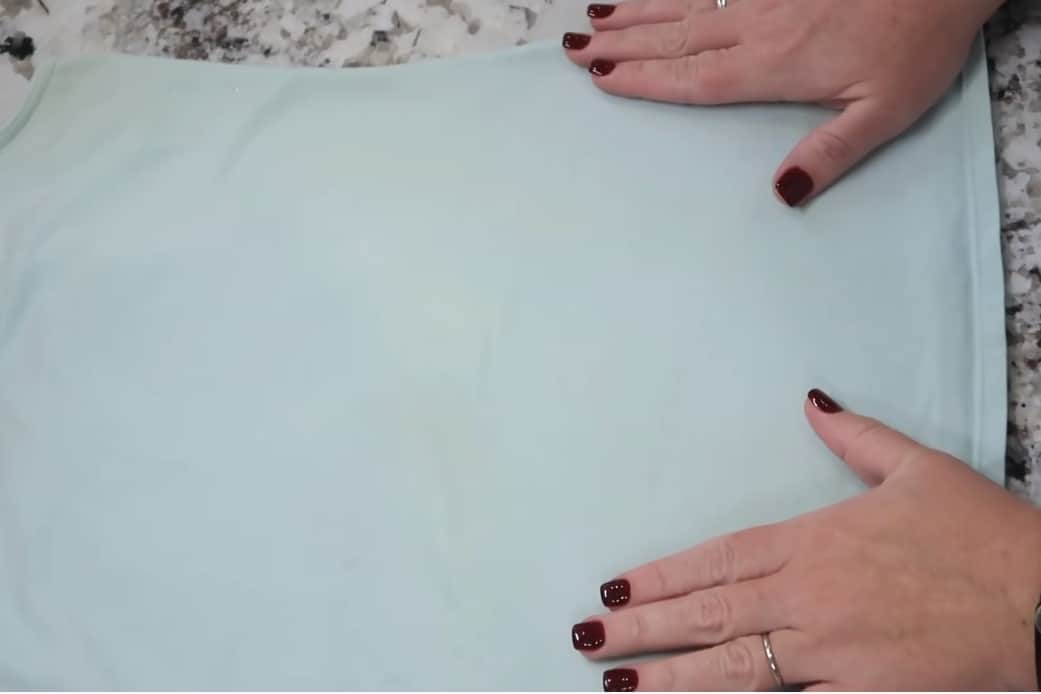
Oil stains are easy to get but hard to remove. It seems that at some point, anyone doing their laundry would come to ask this question.
Well, let us help you with this slippery situation.
Without further delay, let’s slip right into this laundry concern.
Can You Get Oil Out of Clothes?
First thing, first. Can we get oil out of clothes once it gets on them?
Many have resigned to the fact that once oil gets on an article of clothing, it is there to stay. Sometimes, that is the case. However, you might be happy to know that it doesn’t always have to be.
Unless your whole shirt got dunked in a drum of oil, there is probably a big chance you can still save it.
With the right tools, care, and response time, you could probably make your oil-stained shirt look good as new.
How to Get Oil Out of Clothes?
We now know that not all articles of clothing are subject to be oil-stained forever. Now, let’s talk about how exactly you can get it out.
Tools
Earlier, we mentioned that you need the right tools in your oil removal quest.
You don’t have to worry! We’re not talking of any fancy machine. You probably even have everything you need already.
When dealing with oil stains, you’d want to have the following:
- Cardboard
- Paper Towels
- Baking Soda
- Vinegar
- Dish Soap
- Toothbrush
These things are the most common choices with stain removals. However, as you will see later, you can switch some of these for something else.
Now that you have your tools ready. Let’s talk about how to put them into action.
Step 1. Using the Cardboard
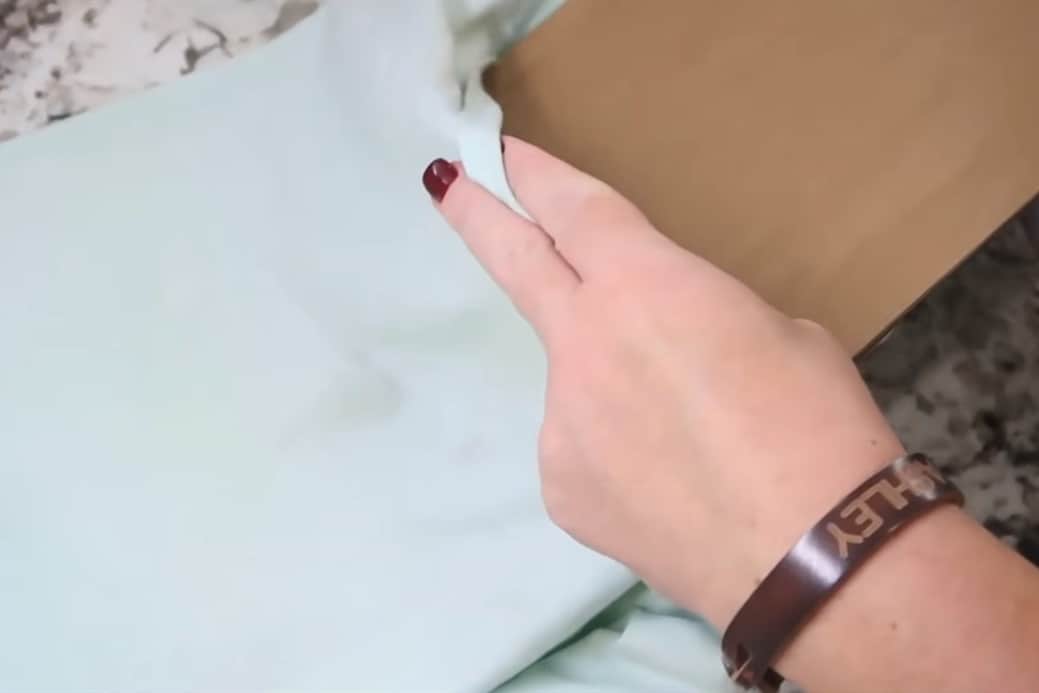
First, you’d want to get your cardboard. Place it inside the article of clothing.
The cardboard will act as a stopper or a blocker. It will help stop the oil from getting on the other side of the piece.
If you don’t have any cardboard, then you can also use an old rag or towel. Anything that could help stop the oil from transferring on the other side of the piece. After all, you don’t want to have more work!
Step 2. Using the Paper Towels and Baking Soda
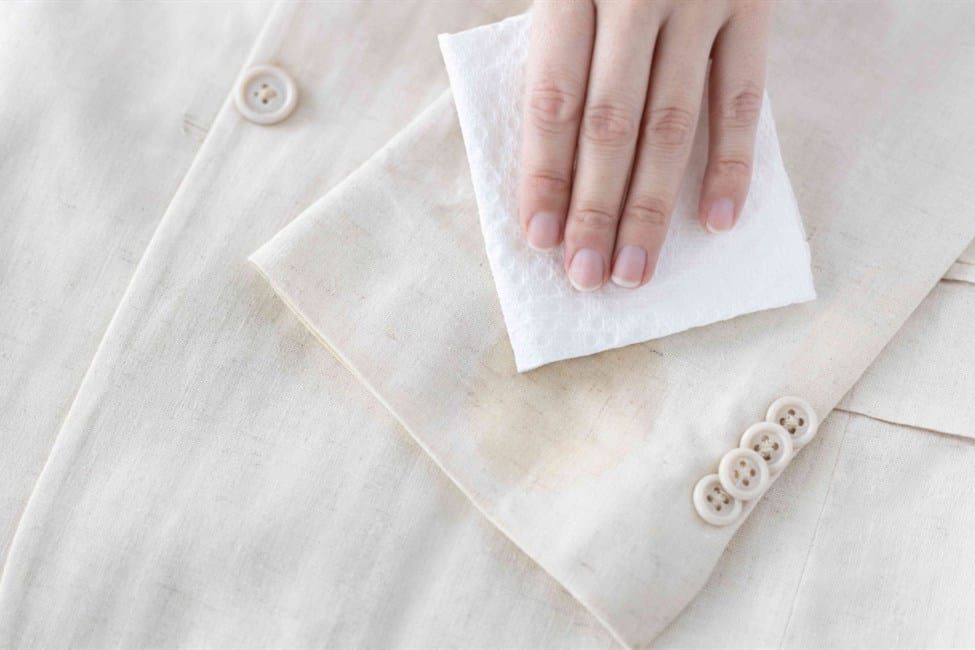
Next, get some paper towels or anything similar. Pat and blot the oil from both sides (i.e., over and under). You want the paper towel to absorb as much oil as it could from the clothes.
Don’t rub. Rubbing might transfer the oil to other areas instead of going to the paper towel.
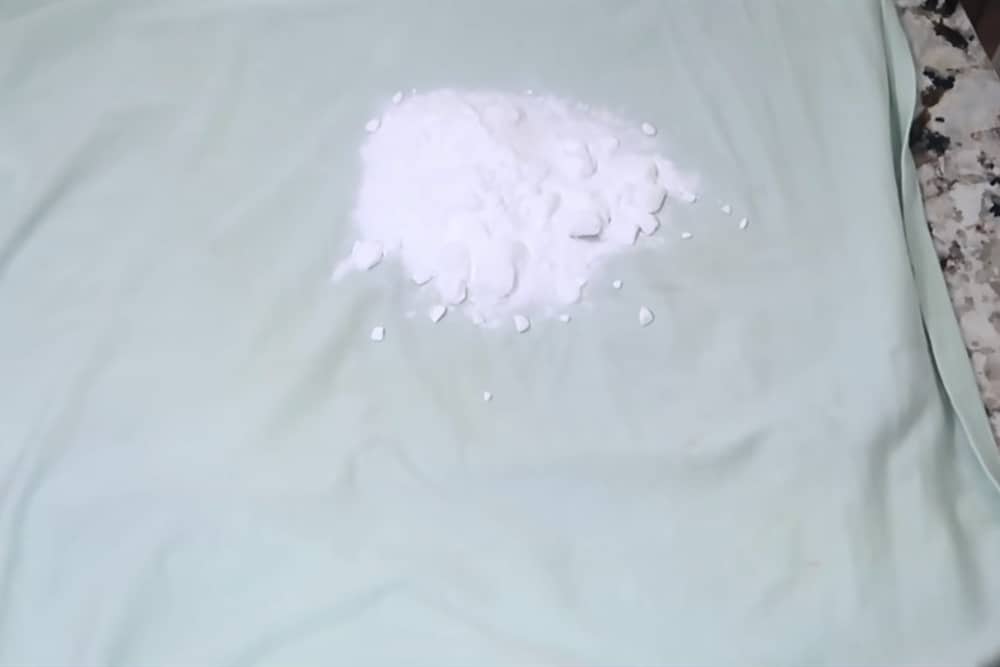
After that, you’re going to need your baking soda. Sprinkle it on the affected area to further absorb the oil.
If you’re only dealing with a small oil stain, you could also use chalk. On the other hand, if you don’t have any of these two, you can also use baby powder or cornstarch. You can use anything that could absorb the oil.
There are several ways to do this step.
Some would tell you to let the baking soda sit for 5 to 10 minutes, brush it off, and repeat. Others would advise you to let it sit overnight for a whole day. You can do either one. However, if you’re going to let the baking soda sit for a long time, you might want to put a generous amount of baking soda.
Again, you’re using the baking soda to absorb as much oil as you can from the piece. If you see it start to change color or clump, it is a good sign. That’s why, for some, the treat and repeat process works better. The change can be seen easily.
On the other hand, if you’ve decided to wait it out, you might want to brush off the baking soda and add a new layer before proceeding with the next step. Let the new layer of baking soda sit for around five minutes. If there was no change, you’re ready to go to the next step. This extra step is, again, only to ensure all the excess oil is gone.
Step 3. Using the Vinegar, Dish Soap, and All Your Other Laundry Weapons
Next, get some vinegar and dilute it. Spray it on the affected area. This step is optional. You can skip to the next step if you don’t want to deal with vinegar.
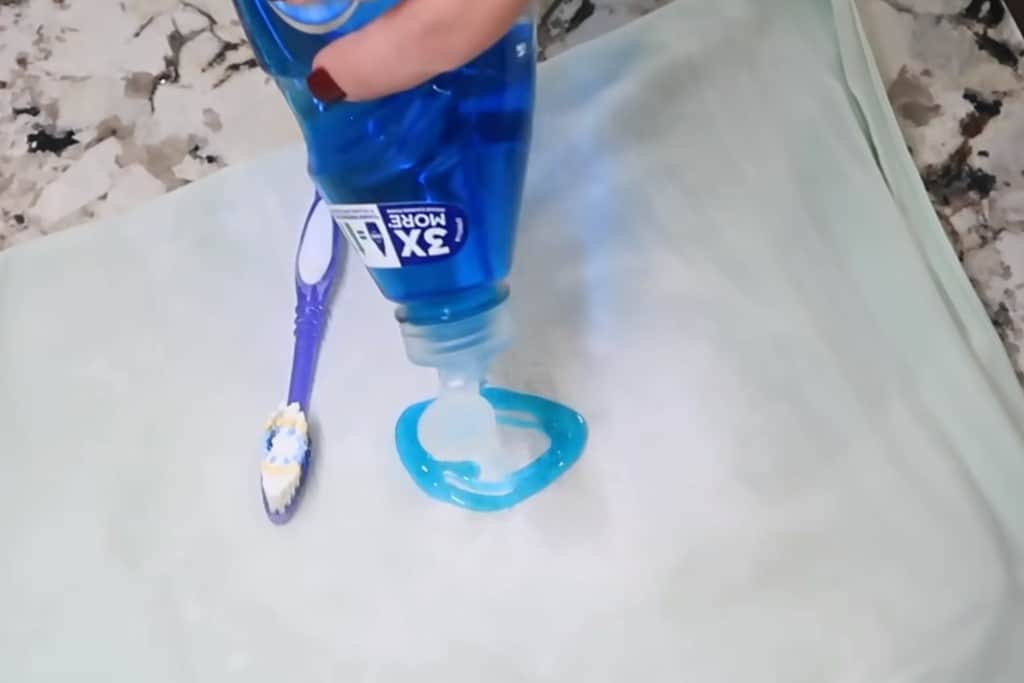
Next, get some dish soap and put a generous amount on the oil stain. Gently rub. You can use your hands or the toothbrush for this step. Let it sit for a few minutes. This stuff helps with getting the oil and grease off of your cookware. Now it could also help get the oil out of your clothes!
After that, rinse the garment with hot water. Don’t forget that when dealing with an oil-stained garment, you want to use hot water.
You can soak the garment in plain hot water. On the other hand, you can also make a soaking solution with hot water and a pre-treat laundry product of your choice.
Step 4. Washing and Drying
Finally, it’s time to wash! For the best results, you might want to use a laundry product specifically made for dealing with oil stains.
For drying, it is advisable you air dry the affected piece. The heat from the dryer might set the stain in if it was not completely removed.
Would you have to do this step from now on? No!
You only have to do this step until you’re not yet sure the oil is all gone. Oil stains are hard to see when the fabric is still wet, but if you’re sure the oil is all out, then feel free to use the dryer.
If you’ve accidentally used the dryer, then you don’t have to worry. You can still save that garment. It might be more challenging, but there’s still hope.
With all that said, if ever you dry your clothes and the oil stain is still there, repeat the steps above.
Time
Now, let’s talk about time. Time has a big role in oil removal in clothes, after all.
You want to work fast when it comes to oil stains. However, we know you can’t do much if you’re out and about when the accident happens.
Don’t worry. You don’t have to leave that date or party immediately if you get oil in your clothes. Still, you need to do something!
You’d want to find some paper towels and soak up as much oil as you could. If you can find some baby powder, you might want to put some on the area as well.
There would still be a stain, but these things could help lessen the oil in the clothes. This immediate treatment should increase the chances of solving the problem.
Despite all this, you still need to remove the oil as soon as possible if you don’t want it to be permanently there.
Other Things to Consider
Here are some other things you need to consider when removing oil from clothes.
Care Label
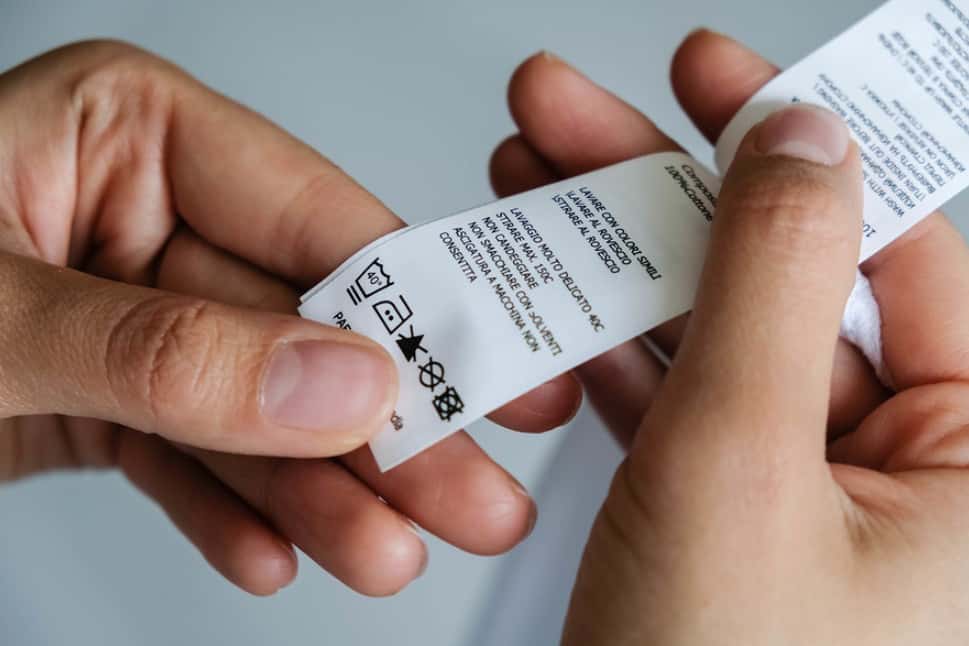
Always check the care label.
It would be a good idea to check the care label when you first wash your new clothes. However, it is especially important when dealing with problems like this one.
Earlier, we mentioned that you need to use hot water when removing oil stains. There isn’t really a specific temperature. You can make it as hot as you like. That will be good for the oil, but it might not be for your clothes.
The care label would tell you how hot you can make the water without ruining your clothes.
Material
Next, you need to consider the material or fabric of your clothes.
You need to be more careful with some fabric (e.g., silk), while you could be a little rougher with some (e.g., everyday cotton).
Knowing the fabric of your clothes will allow you to decide which cleansers to use and how much of it at that.
WD-40
Did you leave the oil-stained shirt untreated for too long? The oil has probably dried up already then. Not all is lost. Let’s talk about WD-40.
You might be surprised, but it could be a good partner when removing oil stains. Removing oil and grease is only one of its many uses, and it works well for this problem for many.
In trying to save an article of oil-stained clothing, you need to bring the oil to its previous state. That’s where WD-40 works wonders for some. However, there’s a catch.
Some people have opted to stay away from WD-40 because it is a tricky tool. When you use it, it could introduce a new problem because it leaves a stain of its own. Some opt to use an oil-based cleanser instead.
Summary
How to get oil out of clothes? As you’ve seen, with the right tools, treatment, and response time, it’s not that hard!
You will need some elbow grease and patience, but with this trick, you can still save your oil-stained clothes.
So go ahead! Enjoy that burger without fearing the grease.

Jessica Oliver is a fashion enthusiast with more than ten years of experience in the industry. She previously managed her own clothing store in New York before becoming a mother of three. With a passion for sustainability and a desire to share clothing care and recycling tips.

