Gone are the days when you go to a printing shop to get your design stamped on fabric. In this fast-paced world, you can do just about anything in the comforts of your home. And that includes learning how to print images on a T-shirt. In this blog, you’ll find five printing methods ranging from the easiest to masterly techniques.
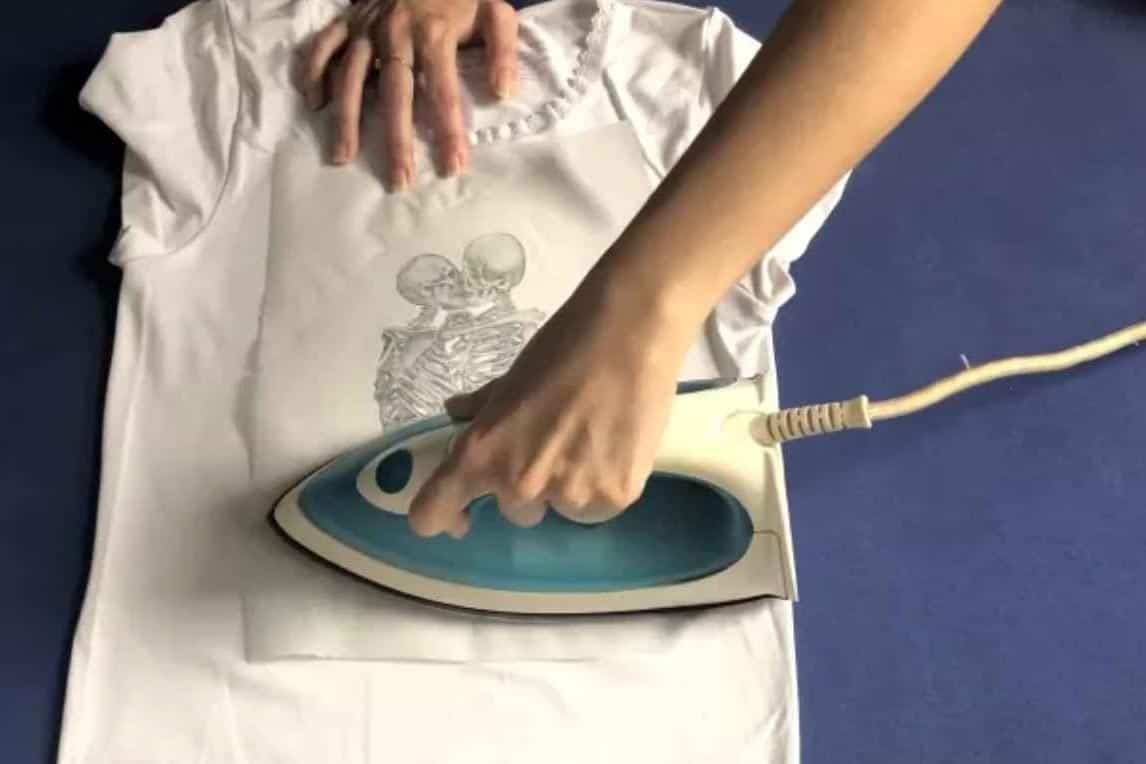
Iron-On Transfer Method
This method is as easy as waving a magic wand over a pumpkin! Except you’re holding a heated tool and transforming plain clothing.
To get started, let’s first explain the materials you’ll need:
- Inkjet or Laser Printers: both can work well with transfer paper, but the former will give you a broader option for printing.
- Heat Transfer Papers: when pairing, remember that white paper goes with a dark-colored shirt, while transparent paper works with light-colored shirts.
- Clothes iron: any model will do as long as the temperature and pressure are optimal.
- Pressing cloth: a few alternatives are kitchen towels, pillowcases, or parchment paper.
Like the materials, the steps are relatively simple to follow. The first order of business is to print your choice of design onto the transfer paper. Secure that you’re working on the coated side (and not the peel-away backing).
Then place the printout on the shirt and cover it with a pressing cloth. Adjust the heat on the iron depending on the paper package instructions. Start ironing by moving in a circular motion until you cover all the photo edges.
Lastly, let it cool down completely before gently peeling off the cloth and paper, and then it’s ready for wearing!
Plastic Wrap Method

Breaking news — plastic wrap does not only seal foods but images too! And what’s great about this method is it’s inexpensive and a breeze to make.
For this bedazzled DIY image transfer method, you need to gather the following:
- Printed pictures or any photo from a magazine
- Scissors
- Plastic wrap
- Dry Iron (no steam)
- Parchment paper
Pick a photo that you like to appear on your shirt. It could be from a fashion magazine, a song album screenshot, or even a stan portrait. Cut it to your preferred size or let the quirky shapes take over if you’re feeling artsy.
Now onto the tricky part! Start covering all sides of the image with plastic wrap. Don’t be afraid to ask for assistance if it’s not cooperating and keeps sticking. This way, you can also reduce wastage by avoiding the discarding of unused tangled wraps.
Once it’s sealed, place it on the clothing and cover it with parchment paper. Then, take your time to iron until the picture firmly sticks to the fabric. The process might take some time and pauses, but it’s best to run the iron over the design multiple times.
Lift off the parchment paper, and you’ll notice the plastic shrank and stuck to the shirt.
Wax Paper Method
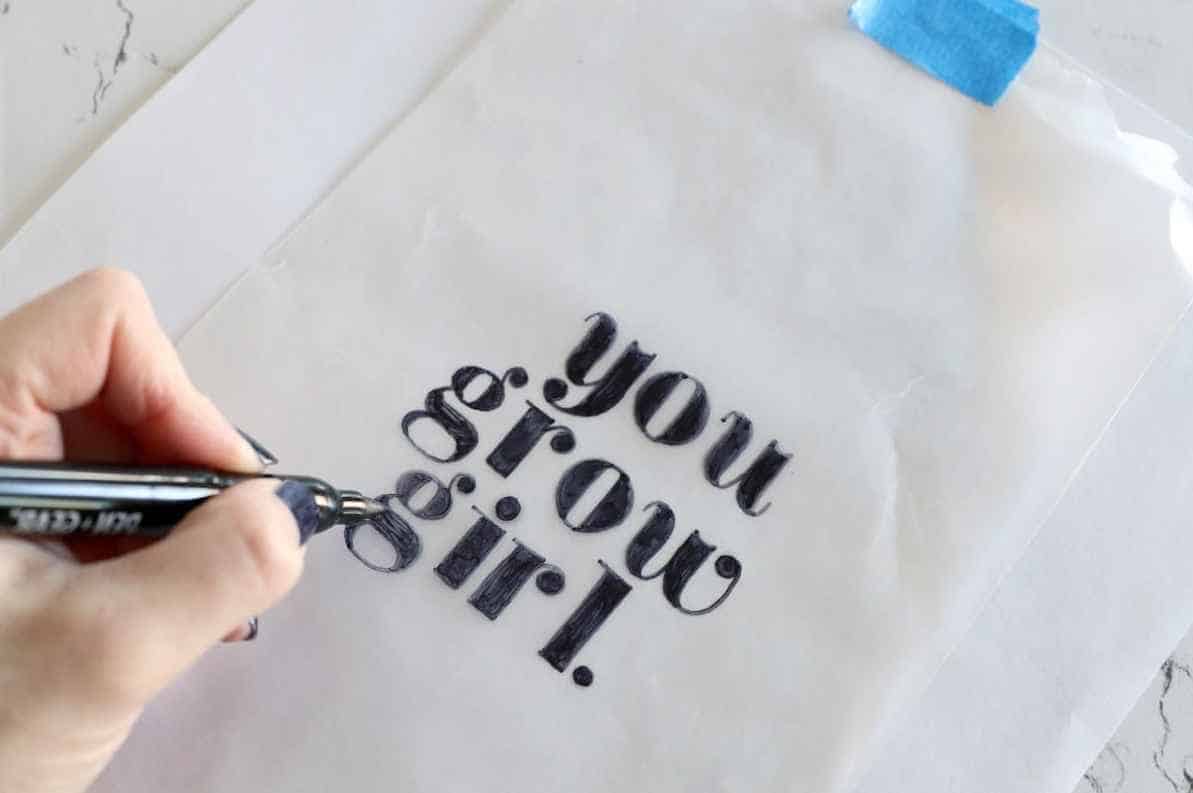
It may not be as durable as the iron-on transfer, but it works if you need something quick for an upcoming event. Hint! Hint! That could be a birthday or a concert around the corner.
This method functions like a stamp by transferring the wet ink abruptly into the clothing. You might feel a rush doing it, so lay out everything before you start.
Also, you’ll only need two materials for this specific method: Wax paper (cut into 8.5 x 11) and an Inkjet printer.
Wax paper can curl up after cutting, so you might need to place it between the pages of a book. That way, you can flatten out the sheet for seamless photo transfer. If it’s good to go, print a reverse image on it and carefully remove it from the printer. This phase should be quick to prevent the ink from drying out.
Lay it face-down on the clothing, then press it firmly until the design transfers. Be careful not to be too hard on it to prevent smudging and spreading of ink. Remove the wax paper and let it dry for at least an hour. Easy, right? Now you can try other designs and revamp your plain clothes into something memorable.
Print Then Cut Cricuit Transfer Method
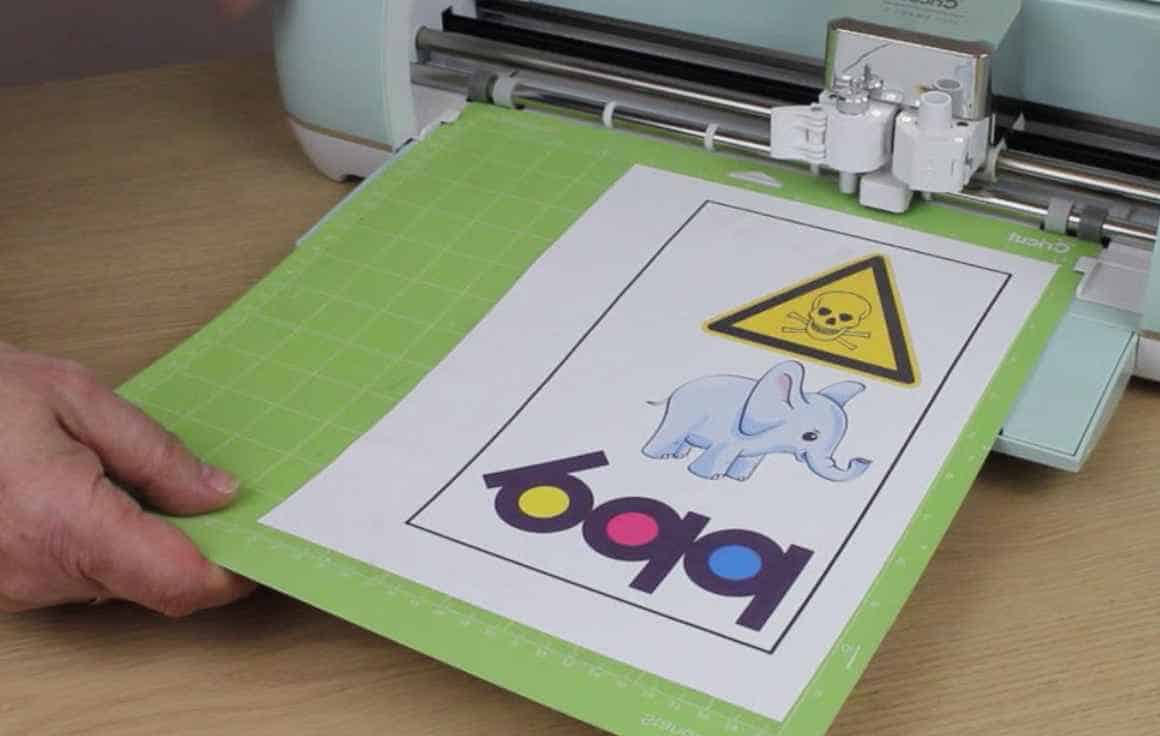
This method has been popular since Cricut, Inc. released its cutting machines. From personalized apparel and festive banners, the device can do it all for you. So if you have one stored away in a room, it’s time to take it out and craft your personalized vinyl-designed shirts.
Before we hop into the print-then-cut project, you’ll need:
- Printable transfer paper for dark materials
- Design with defined edges
- Printer
- Cricuit machine
- Heat press
Upload the image of your choice to the Cricut Design Space. Then, resize it on the canvas. It should be less than 6.75 x 9.25 in dimensions.
Once you’re satisfied with the design, continue with the printing process by adjusting the print setup. You can tick the option to add bleed to dodge white edges from sticking around the image. Then, load the transfer paper on your printer to start printing.
If you got your image ready, select the paper cut setting on your Cricut machine. After that, place the design on the mat and into the cutter. It may take a few minutes to finish, but the cut is precise compared to manual labor using scissors.
Lift the design from the transfer paper and place it on the shirt. Then using a heat press, flatten the image and wait 30 seconds for it to stick.
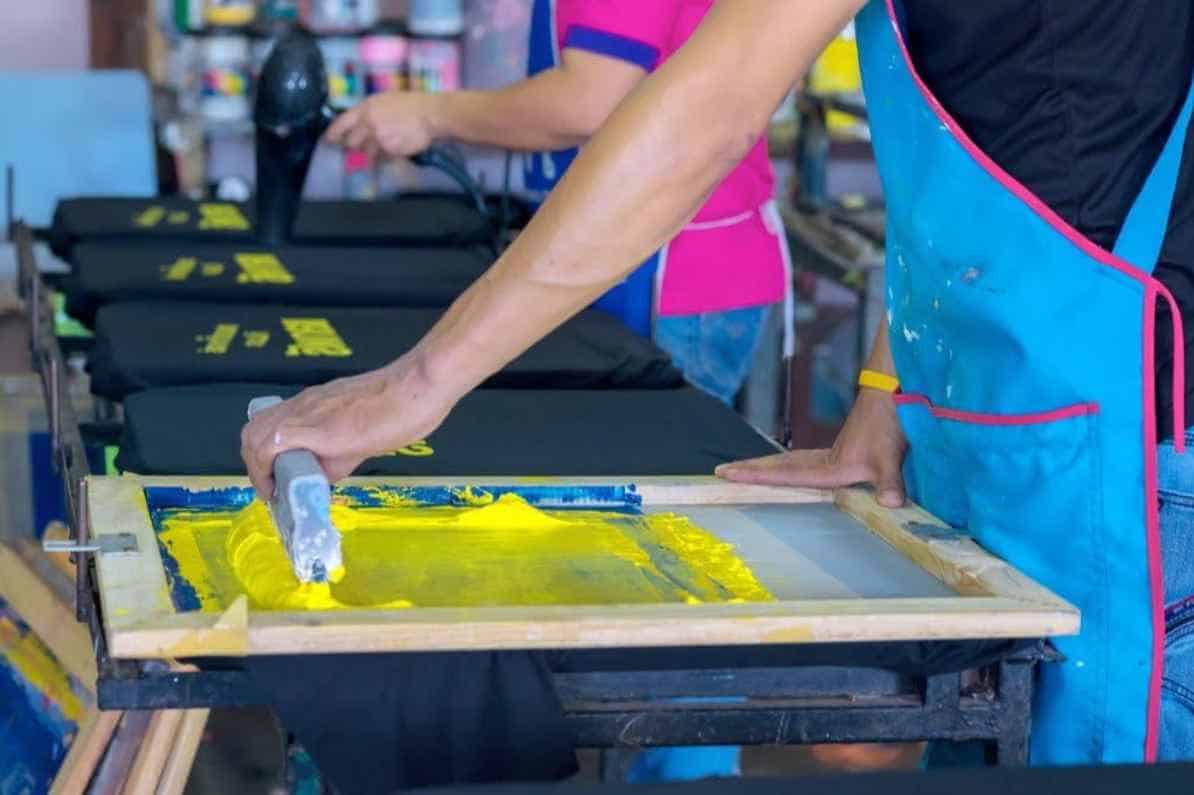
Screen Printing Method
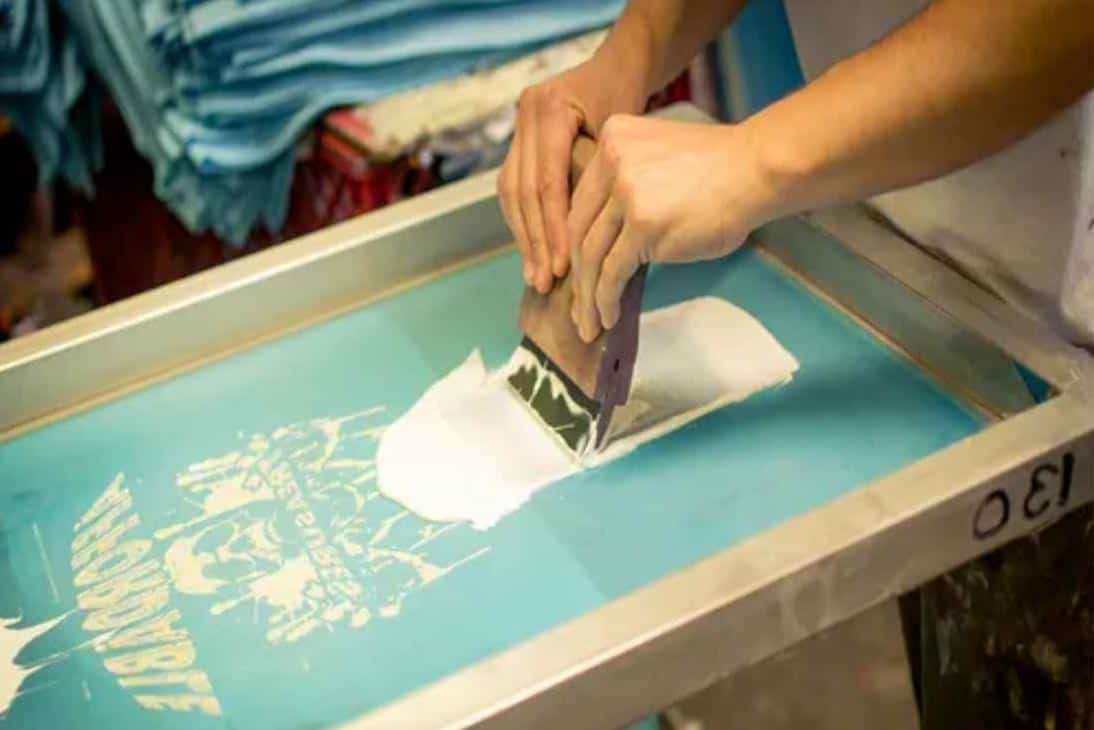
Promotional T-shirts usually follow two popular processes: heat transfer vinyl and screen printing. The latter became popular during the 60s and remained the same as it was years ago.
And before we get into the nitty-gritty of the process, here’s a friendly reminder. Screen printing takes a lot of practice. You may end up with some sub-par shirts, and that’s okay as long as you learn from them.
Also, you’ll need a lot more uncommon materials compared to other methods:
- Screen
- Squeegee
- Photo emulsion
- Sensitizer
- Transparency film with an image
- Glass (same size as the screen)
This method has two parts: setting the screen and painting the shirt. For the first part, mix a little water in the sensitizer to loosen it from the sides of the bottle. Once it slackens, you can combine it with the photo emulsion. Then, mix everything until it gives a consistent green color.
Pour the green solution into the screen and spread it evenly using the squeegee. Let it dry in a dark room. Avoid using a fan as this can cause premature setting. While waiting, you can print the image on the transparency film. But take note! The simpler the design, the less complicated painting will be.
Tape your art at the back of the screen and place a glass to push it down. Then, place a bright light on top for 30 to 45 minutes. The light hardens the emulsion not covered by the design, leaving you with a soft spot you can brush away.
Moving on to the second part, lay your T-shirt flat on a table and place the screen above. Then, add a dollop of screen printing ink above the design and pull the squeegee across the print. And there you go! A customizable shirt made from one of the oldest imaging transfer techniques.
Tips When Printing Images on a T-Shirt
Take these general tips to personalize your clothing at home:
- Before you start transferring images on a garment, best to wash and dry it first. It will help prevent shrinking and unnecessary damage to the print.
- Iron the area where you want the design.
- Always reverse-print the image when using transfer paper. You can use the mirror effect on any editor to flip your photo.
- Check the make of your shirt. Transfer paper doesn’t usually work well with certain synthetic fibers like polyester.
Post-Printing Care
Knowing how to care for your customized shirt can help the image last a lifetime. So here are some reminders and instructions to follow.
Curing Printed Shirts
Screen printing, unlike other methods, needs proper curing. That means using heat sources like flash dryers to help the ink set in the garment. The temperature is also crucial to achieve a complete cure.
| Ink Type | Temperature |
| Water-based | 300-320°F |
| Plastisol | 320°F |
| Low-cure plastisol | 260°F |
Washing Printed T-Shirt
The first rule to follow when laundering printed T-shirts is to turn them inside out. That way, you can prevent the image from cracking when agitation occurs. Along with this, set your washer in a delicate cycle for optimal temperature and spin speed. Too hot of a temperature can peel the image from the shirt, losing bits and pieces of the design.
Lastly, never overload your washer, as it can cause excessive friction on clothes. Allow some space and follow the recommended load on the manual.
Conclusion
We curated these five methods of printing images on a T-shirt to cater to all types of skill levels. Starting from the easiest, the iron-on transfer is inexpensive and sure to last long. But exploring screen printing is ideal if you plan to take it up a notch and start a business.

Jessica Oliver is a fashion enthusiast with more than ten years of experience in the industry. She previously managed her own clothing store in New York before becoming a mother of three. With a passion for sustainability and a desire to share clothing care and recycling tips.